What's new in VSS

Learn the updates and be informed on how this will affect to ensure flexibility and efficiency.
New to try: vendor self-service login page.
Learn More Learn More
Login

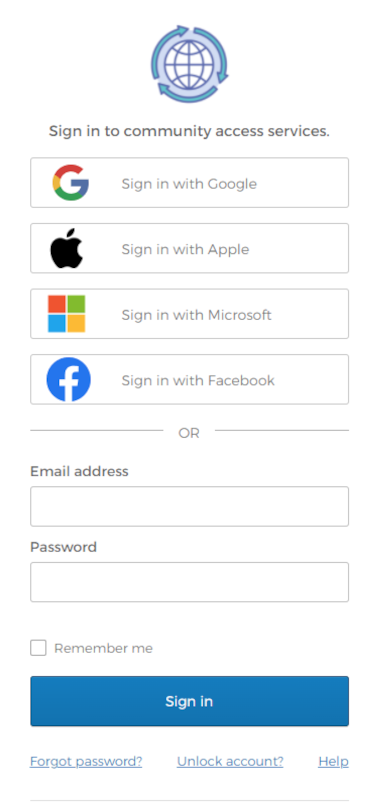
New ways to login to the vendor self service

You can now login to VSS using multiple services with your Google, Apple, Microsoft or Facebook account.

How do I log in?

Step 1

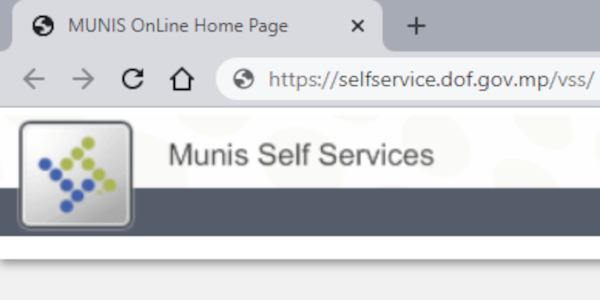
In your browser's URL, type in or copy-paste "https://selfservice.dof.gov.mp/vss/" and press enter.

Step 2
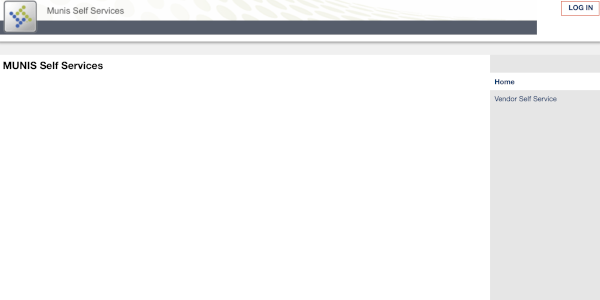
You will then be redirected to this landing page. On the top right, you proceed to press Log In.

Step 3
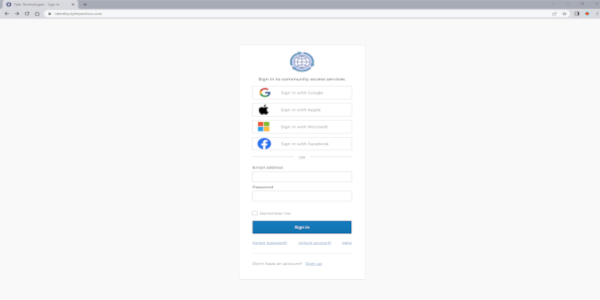
You will then be redirected to this page with a login to access VSS.

What are these options and what do I choose?

You can choose between the 4 available services. When logging in with a service, you must use the password for that respective account. Avoid using your Munis password because it will not work.

If you have an account for any of the services, please select one of the following options below and follow the steps:

Otherwise, create a new account and follow the steps.

Google

Step 1

After selecting Google as your main login, you will be redirected to where it will prompt you to enter your Google email address.

Step 2

Once you have entered your email address, go ahead and press next.

Step 3

It will then prompt you to enter your password. Once you have entered your password go ahead and press next.

Step 4

Then, your profile will be created and you should see this screen at the end of the process.

Apple

Step 1

After selecting Apple as your main login, you will be redirected to where it will prompt you to enter your Apple ID or iCloud email address. Once you have entered your email address, go ahead and press next.

Step 2

It will then prompt you to enter your password. Once you have entered your password go ahead and press next.

Step 3

After entering your password, it will ask for a 6-digit verification code to proceed and you should received it on your Apple devices (i.e. iPhone, iPad, Mac).

Step 4

Once you have entered the 6-digit verification code, it will ask if you trust the browser. Press Trust and proceed.

Step 5

Then it will ask you if you would like to share or hide your email. Go ahead and press Share my Email.

Step 6

Then, your profile will be created and you should see this screen at the end of the process.

Microsoft

Step 1

After selecting Microsoft as your main login, you will be redirected to where it will prompt you to enter your Microsoft email address. Once you have entered your email address, go ahead and press next

Step 2

It will then prompt you to enter your password. Once you have entered your password go ahead and press next.

Step 3

After entering your password, it will ask you if you would like to stay signed in. Go ahead and press yes.

Step 4

It will then ask you permission to read your profile. This is a safe process, so go ahead and press yes.

Step 5

Then, your profile will be created and you should see this screen at the end of the process.

Facebook

Step 1

After selecting Facebook as your main login, you will be redirected to where it will prompt you to login to your Facebook account. Once you have entered your credentials, go ahead and press Log In.

Step 2

It will then ask you permission to read your profile. This is a safe process, so go ahead and press yes.

Step 3

Then, your profile will be created and you should see this screen at the end of the process.

Create a new account

Step 1

To create an account, you should see an option at the bottom of the selection screen that says Sign Up.

Step 2

Once you have pressed the sign up option, it will then direct you to a page to create your account. Proceed to enter your credentials.

Step 3

After entering your credentials, press Sign Up.

Step 4

On your screen, you should see that they have sent a verification email to the email address you entered earlier. You can proceed to check or skip on the verification email if you wish and press Back to sign in.

Step 5

Then you will be redirected back to the login screen. Proceed to enter your email address and password that you just registered with and press Sign In.

Step 6

Then, your profile will be created and you should see this screen at the end of the process.